
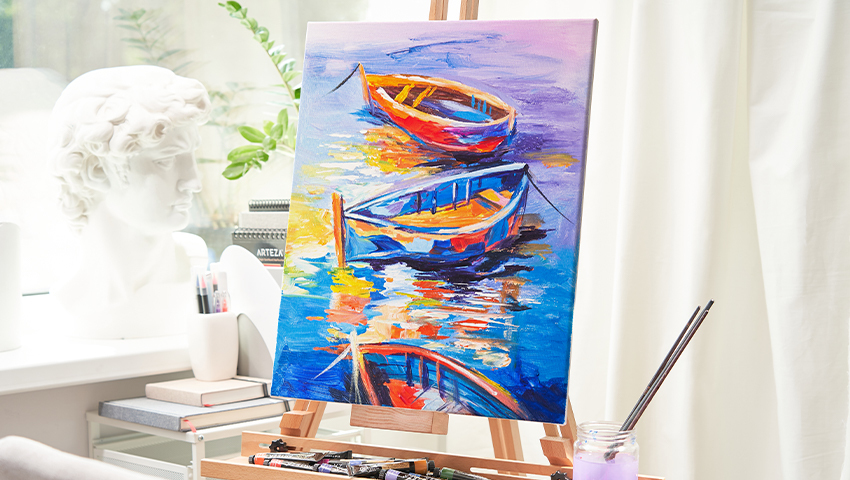
Art school may be a traditional path for artists, but it’s not the only path.
You can create your custom study curriculum and create the opportunity to unleash your creativity, learn at your own pace, and embark on a self-guided journey that is uniquely tailored to your artistic aspirations.
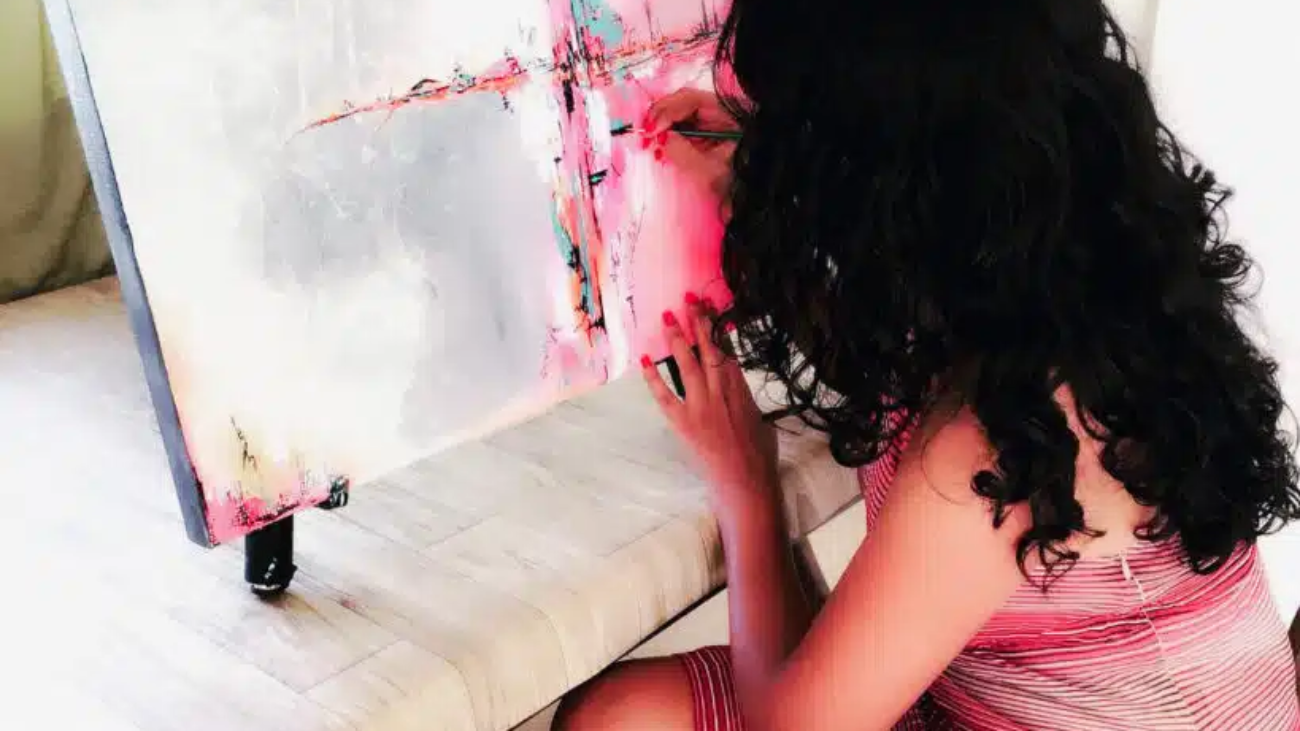
Embarking on a self-taught artistic journey is an exciting and fulfilling endeavor. It allows you to explore your creativity, develop your skills, and express yourself through art.
While the idea of being self-taught may seem daunting at first, with a well-structured plan in place, you can progress and thrive as an artist.
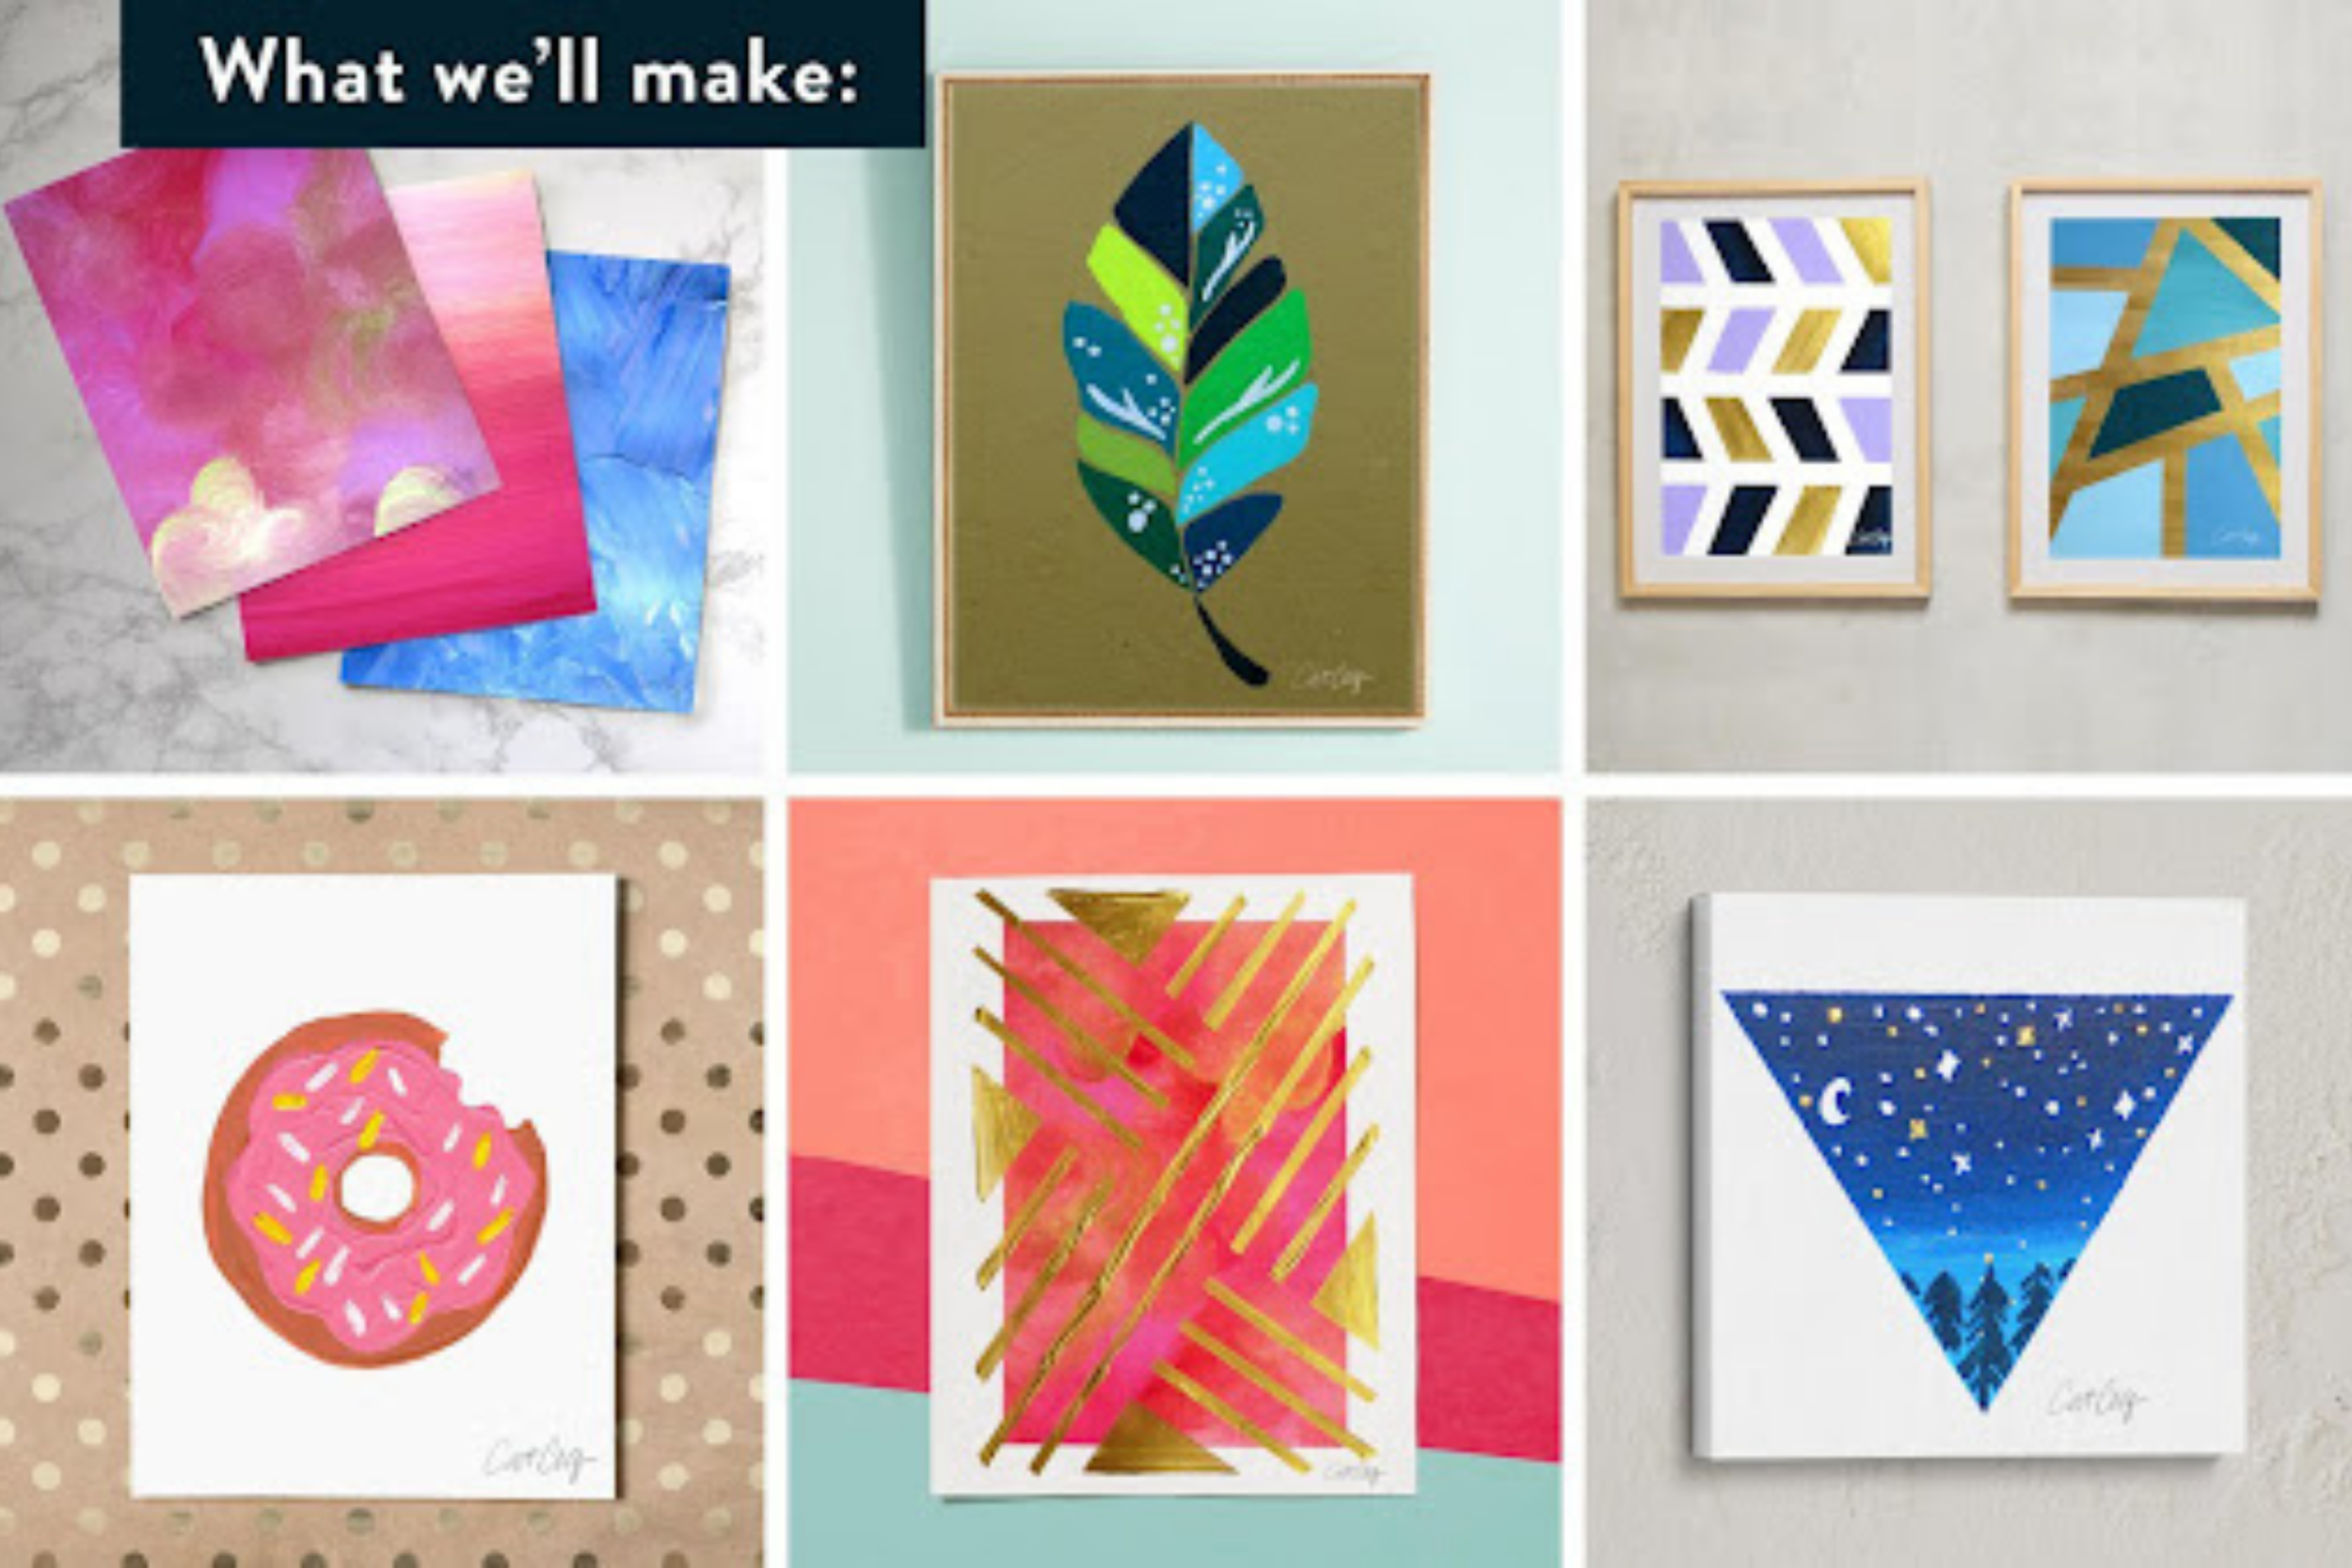
In this blog post, we will go through an outline of a self-taught artist plan, that can be tailored according to your unique goals and aspirations.
Module 1: Drawing Fundamentals
- Basic Drawing Techniques: Focus on line, shape, form, and proportions. Practice observational drawing and develop hand-eye coordination.
- Composition: Learn principles of composition and how to create visually engaging artworks.
Module 2: Sketching
- Sketching Techniques: Explore different sketching mediums such as pencils, charcoal, and ink. Practice sketching from life, capturing basic shapes, shading, and adding details.
- Perspective Drawing: Study the principles of perspective to accurately depict three-dimensional objects and scenes.
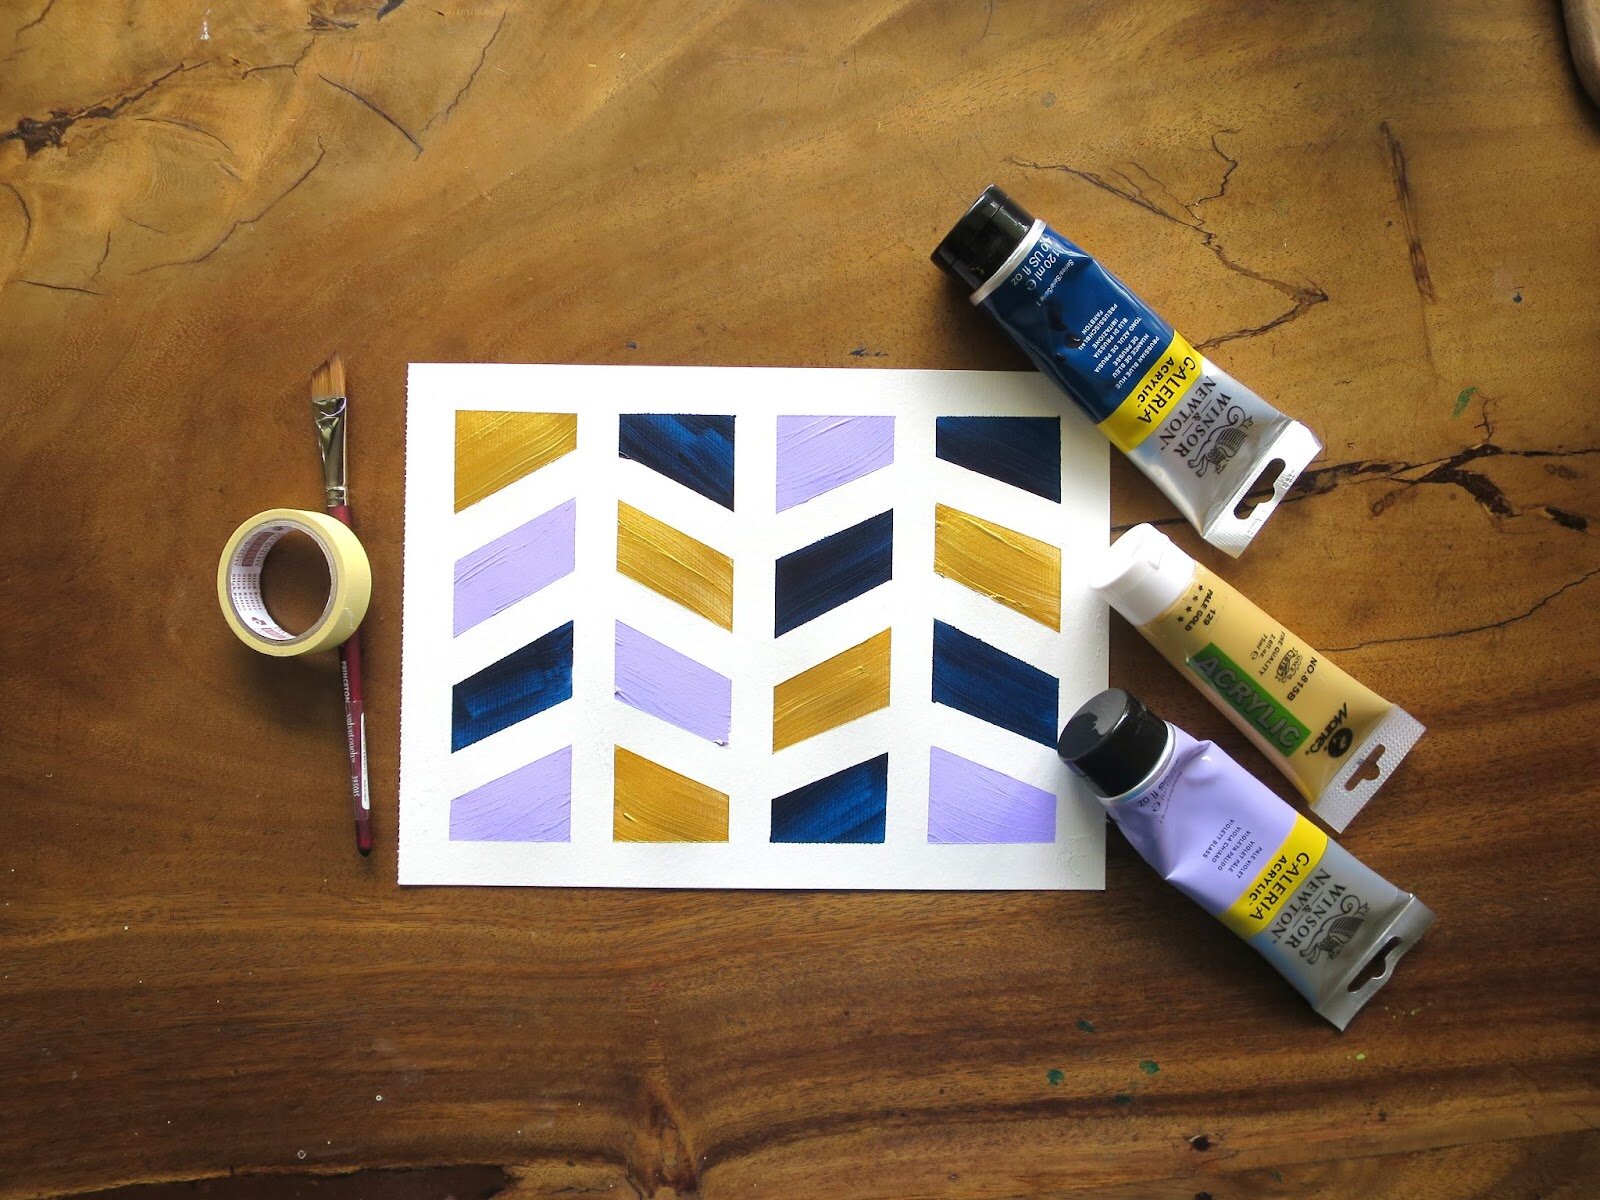
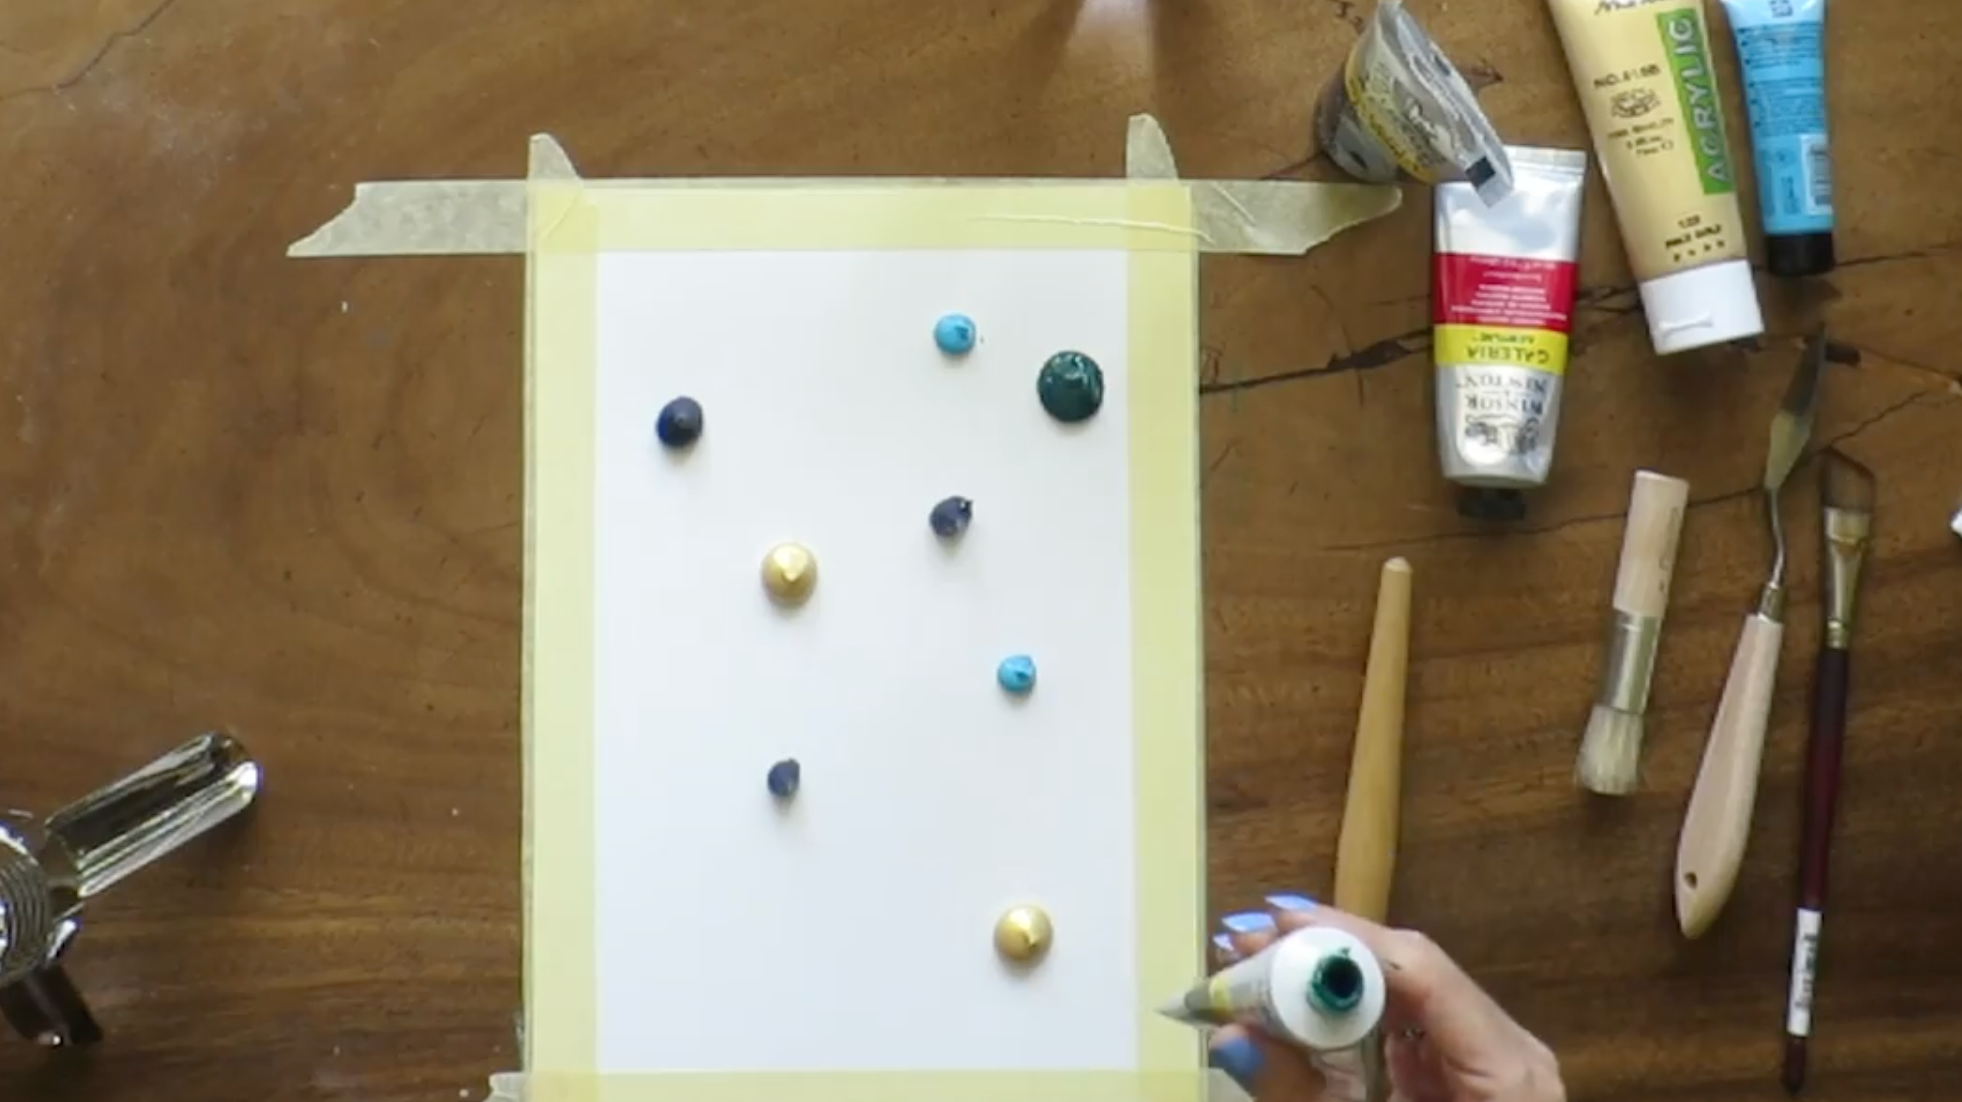
Module 3: Color Theory
- Learn the properties of color & color mixing
- Understand color relationships to enhance your understanding of color harmony.
Module 4: Composition & Design Principles
- Rule of thirds
- balance
- Focal point
- Leading lines
- Negative space
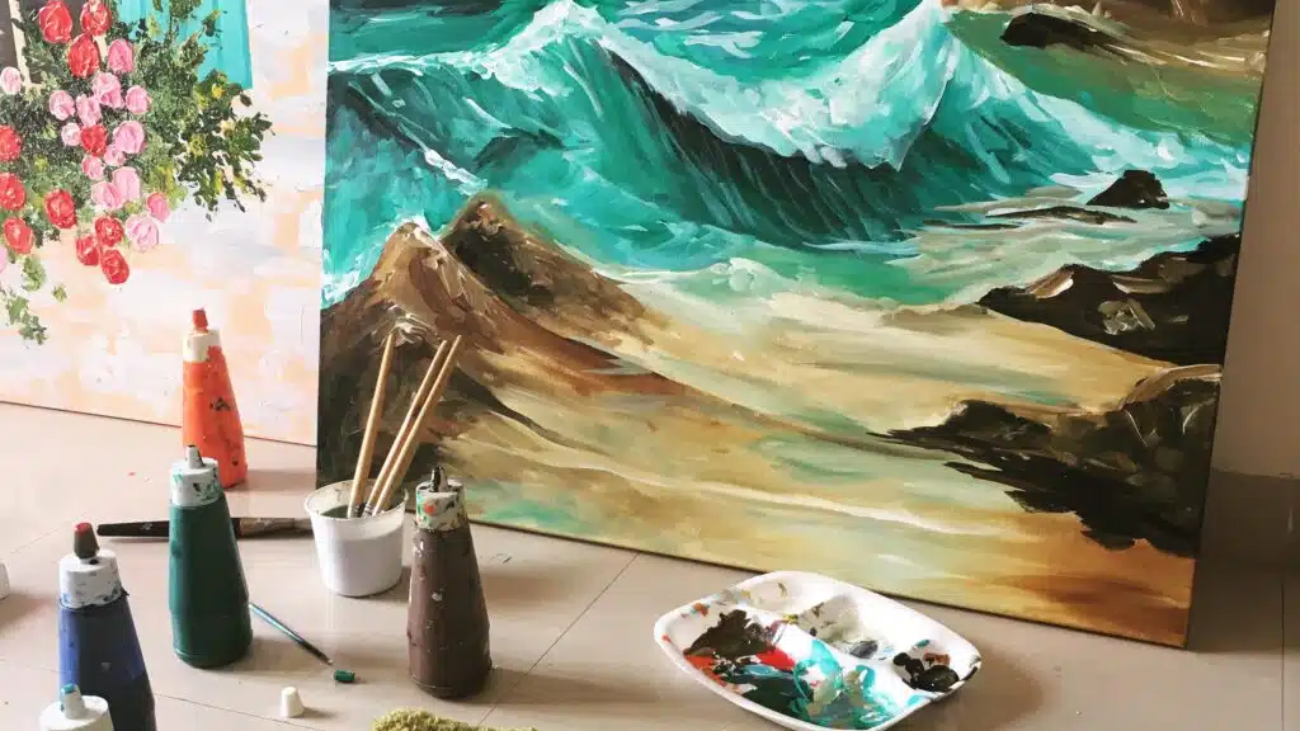
Module 5 – Medium Exploration
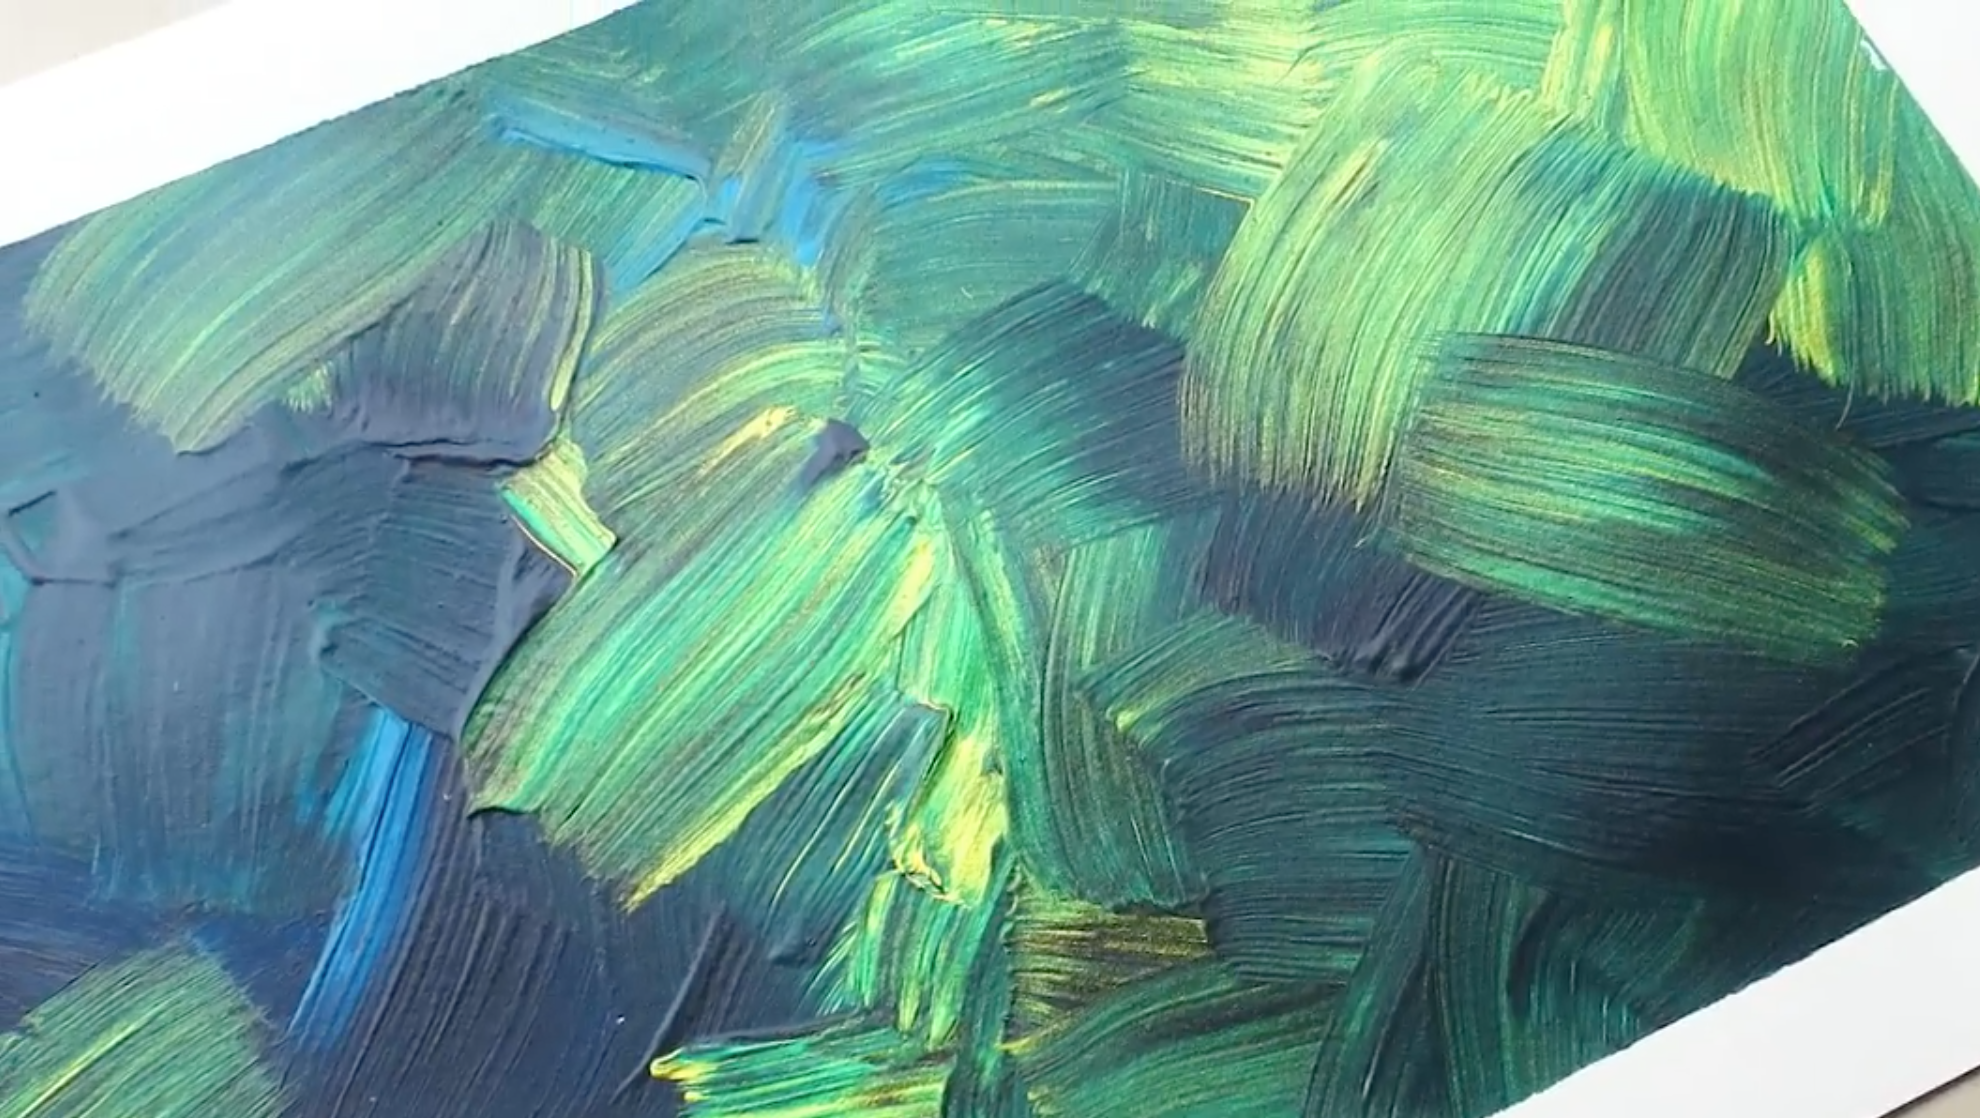
- Introduction to Paint Mediums: Explore acrylic, watercolor, and oil paints. Learn basic techniques and applications specific to each medium.
- Acrylic Painting: Learn basic acrylic techniques like blending, dry brushing, and glazing.
Experiment with different acrylic mediums and additives. - Watercolor Painting: Explore wet-on-wet, wet-on-dry, and dry brushing techniques.
Experiment with various watercolor washes (flat wash, graded wash, etc.). - Oil Painting: Understand oil painting materials and tools (brushes, palettes, mediums).
Learn techniques such as underpainting,
Module 6: Subject Exploration
- Still Life: Set up simple still life arrangements and practice capturing light and shadow.
- Landscape: Study different types of landscapes and their unique features.
Practice capturing atmospheric perspective and natural elements. - Portraiture: Learn facial anatomy and proportions.
Practice drawing and painting facial features, expressions, and skin tones.
Module 7: Art History and Contemporary Art
- Study influential art movements and artists throughout history.
- Research the works and techniques of famous artists in different periods.
- Analyze contemporary artists and their unique approaches to art-making.
Module 8: Advanced Techniques
- Advanced Color Theory: Study color psychology and the impact of colors in art.
- Advanced Composition: Explore rule-breaking and unconventional composition techniques.
- Experimentation and Style Development: Explore different art styles and techniques that resonate with you.
- Mixed Media: Combine different mediums (e.g., acrylic, watercolor, ink, collage) in artworks.
Experiment with texture, layering, and mixed media techniques.
Now let’s get into the details of each module individually.
Module 1: Foundation Studies
1. Basic Drawing Techniques
- Line drawing exercises: Begin by practicing different types of lines — straight, curved, thick, thin— to develop control and precision in your drawing. Experiment with different drawing tools such as pencils, pens, or markers.
- Shape Studies: Focus on drawing basic geometric shapes (circles, squares, triangles) and gradually progress to more complex forms. Practice observing objects and breaking them down into their fundamental shapes.
- Proportion Exercises: Explore exercises that help you understand and practice proportions. Draw simple objects, paying attention to their relationships and relative sizes. Compare the sizes of different parts of an object to ensure accuracy.Composition:
2. Composition
- Rule of Thirds: Learn about the rule of thirds, a basic compositional principle that involves dividing the picture plane into thirds horizontally and vertically. Practice positioning your main subjects along the gridlines or at their intersections to create visually balanced and interesting compositions.
- Study Compositions in Famous Artworks: Analyze the compositions of renowned artworks from different art movements and periods. Observe how artists use various techniques, such as leading lines, framing, or symmetry, to create compelling compositions.
3. Perspective Drawing
- One-Point Perspective: Learn the basics of one-point perspective, which is used to create the illusion of depth and space in a two-dimensional drawing. Practice drawing objects in one-point perspective, such as roads, hallways, or buildings.
- Two-Point Perspective: Progress to two-point perspective, which allows you to draw objects from different angles. Practice drawing simple forms, such as boxes or cylinders, using two-point perspective.
- Three-Point Perspective: Explore three-point perspective to depict objects from extreme angles or in dramatic foreshortening. Experiment with drawing architectural structures or complex objects using three-point perspective.
Module 2: Sketching
1. Sketching Techniques
- Basic Sketching Exercises: Begin by practicing basic sketching techniques, such as contour drawing, gesture drawing, and hatching. These exercises help improve your hand-eye coordination and observation skills.
- Sketching from Observation: Progress to sketching objects from life or references. Choose simple objects with interesting shapes, textures, or lighting. Focus on capturing the essence of the subject, emphasizing its basic shapes and forms.
- Experimenting with Different Sketching Tools: Explore various sketching tools such as graphite pencils, charcoal, pens, or ink. Each tool has its own unique characteristics and can produce different effects. Experiment with different line weights, shading techniques, and textures.
2. Perspective Drawing
- Applying Perspective to Sketching: Use your understanding of perspective drawing from Module 1 to create sketches with depth and spatial accuracy. Practice sketching simple scenes or architectural elements, applying one-point, two-point, or three-point perspective as required.
- Sketching Architectural Structures: Explore sketching architectural structures like buildings, bridges, or cityscapes. Pay attention to the details, proportions, and the interplay of light and shadow. Use sketching techniques to capture the architectural elements and the overall atmosphere of the scene.
- Sketching Outdoor Scenes: Venture outdoors and sketch landscapes, urban scenes, or natural environments. Focus on capturing the essence of the scene, its unique elements, and the play of light and shadow. Practice sketching quickly to capture the fleeting moments and the energy of the environment.
3. Experimentation and Style Development
- Exploring Different Sketching Styles: Experiment with different styles of sketching, such as loose and expressive, detailed and realistic, or minimalist and abstract. Allow yourself to explore various approaches to sketching and find a style that resonates with you.
- Incorporating Textures and Patterns: Explore adding textures and patterns to your sketches to enhance visual interest. Experiment with cross-hatching, stippling, or other techniques to create depth and texture in your sketches.
- Mixed Media Sketching: Combine sketching with other mediums, such as watercolor, ink washes, or collage. Explore the possibilities of mixing different mediums to add depth and dimension to your sketches.
Module 3: Color Theory and Mixing
1. Color Theory
- Color Wheel: Familiarize yourself with the color wheel, which organizes colors in a circular format. Understand the primary colors (red, blue, yellow), secondary colors (orange, green, purple), and tertiary colors. Learn about warm and cool colors, complementary colors, analogous colors, and other color relationships.
- Color Properties: Study the properties of color, including hue (the specific color itself), value (lightness or darkness of a color), and saturation (intensity or purity of a color). Explore the effects of different color combinations and their emotional or psychological impact in artwork.
- Color Harmonies: Learn about different color harmonies, such as complementary, analogous, triadic, and split-complementary. Experiment with creating color palettes based on these harmonies to achieve visual harmony and balance in your artwork.
2. Color Mixing Exercises:
- Mixing Primary Colors: Practice mixing primary colors (red, blue, yellow) to create secondary colors (orange, green, purple). Experiment with different ratios to achieve desired hues. Create color charts to understand the range of colors that can be achieved from primary colors.
- Tonal Variations: Explore tonal variations within a single color by adding white or black to create tints and shades. Experiment with creating smooth gradients or transitions between different values of a color.
- Color Gradations: Practice creating smooth color gradations by blending adjacent colors. Experiment with different blending techniques, such as wet-on-wet or glazing, to achieve seamless transitions between colors.
3. Exploring Color in Artwork:
- Emotional and Symbolic Use of Color: Study how different artists use color to evoke emotions or convey specific meanings in their artwork. Explore the cultural or psychological associations of colors and experiment with using color to enhance the mood or narrative in your own artwork.
- Color in Different Lighting Conditions: Understand how lighting conditions can influence the perception of color. Experiment with painting or depicting the same subject in different lighting scenarios, such as natural daylight, artificial light, or low-light conditions.
- Creating Harmonious Color Schemes: Apply your knowledge of color harmonies to create visually pleasing and harmonious color schemes in your artwork. Experiment with different color combinations and explore the impact of warm or cool color dominance in a composition.
Module 4: Composition & Design Principles
1. Rule of Thirds
Understand the rule of thirds, a fundamental compositional guideline. Imagine dividing your canvas or paper into a grid with two equally spaced horizontal lines and two equally spaced vertical lines, resulting in nine equal sections. Position key elements of your composition along these lines or their intersections to create visual interest and balance.
2. Balance
Learn about different types of balance in composition, such as symmetrical balance (where elements are evenly distributed on either side of a central axis) and asymmetrical balance (where elements of different size or weight are placed strategically to create balance). Experiment with creating compositions that demonstrate both types of balance.
3. Focal Point
Explore techniques for creating a focal point in your artwork. This is the area of the composition that draws the viewer’s attention and provides a visual anchor. Experiment with using color, contrast, size, or detail to emphasize the focal point and guide the viewer’s gaze.
4. Leading Lines
Understand the concept of leading lines and how they can be used to guide the viewer’s eye through the composition. Experiment with incorporating diagonal, curved, or converging lines to create depth and visual flow in your artwork.
5. Visual Weight
Learn how to distribute visual weight in your composition to create balance and harmony. Elements with greater visual weight, such as larger objects or those with higher contrast, will attract more attention. Experiment with arranging and scaling objects to achieve a desired visual balance.
6. Negative Space
Explore the use of negative space, which is the empty or unoccupied area around the main subject in your composition. Experiment with creating interesting and intentional negative spaces that enhance the overall visual impact and balance of your artwork.
7. Simplification and Abstraction
Practice simplifying complex subjects by reducing them to their basic shapes and forms. Experiment with abstracting elements or details to create visually intriguing compositions that invite viewer interpretation.
8. Golden Ratio
Learn about the golden ratio, a mathematical concept found in nature and art, which can create aesthetically pleasing proportions. Experiment with incorporating the golden ratio or its spiral counterpart, the Fibonacci spiral, into your compositions to create visually engaging artwork.
Module 5: Medium Exploration
1. Introduction to Different Artistic Mediums
- Explore a variety of mediums such as acrylic paints, watercolors, oils, pastels, or colored pencils.
- Learn about the unique qualities, characteristics, and techniques associated with each medium.
- Understand the properties of each medium, including opacity, drying time, blending capabilities, and texture.
2. Basic Techniques for Each Medium
- Develop a foundational understanding of techniques specific to each medium.
- Learn brushwork techniques, layering, blending, and color mixing for paints.
- Understand the application and control of water for watercolors.
- Explore techniques for building up layers and texture with pastels or colored pencils.
- Experiment with the different effects achievable with each medium.
3. Exploring Different Surfaces:
- Experiment with various surfaces, such as canvas, watercolor paper, toned paper, or textured surfaces.
- Understand how different surfaces interact with the chosen medium and affect the final artwork’s appearance.
- Explore the possibilities and limitations of each surface and how they can enhance your artistic expression.
4. Expressive Techniques and Styles:
- Push the boundaries of each medium and explore more expressive techniques.
- Experiment with different brush strokes, mark-making, texture-building, or unconventional tools.
- Explore different styles, from realistic to abstract, and find the one that resonates with your artistic vision.
5. Combining Mediums
- Explore the possibilities of combining different mediums to create unique effects and textures.
- Experiment with mixed media techniques, such as incorporating collage, ink, or pastels with paints.
- Learn how different mediums can complement and enhance each other in your artwork.
6. Specialized Techniques and Effects
- Dive deeper into specialized techniques for each medium.
- Explore techniques like glazing, impasto, wet-on-wet, dry brush, or splatter for paints.
- Learn techniques for creating washes, gradients, or texture with watercolors.
- Experiment with layering, blending, or burnishing for pastels or colored pencils.
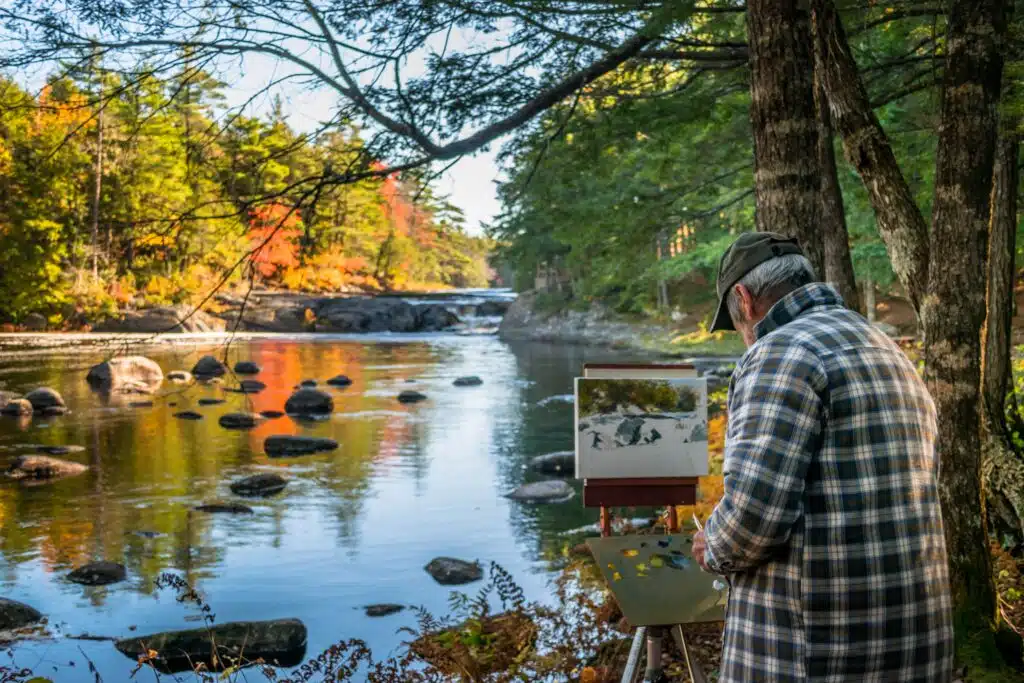
Module 6: Subject Exploration
1. Still Life
Dive into the world of still life painting. Choose objects that interest you and arrange them in a visually appealing composition. Explore different lighting setups, textures, and color harmonies. Experiment with capturing the form, volume, and details of the objects in your paintings.
2. Landscapes
Explore the beauty of landscapes and nature. Study different landscapes, whether it’s mountains, seascapes, forests, or urban scenes. Experiment with capturing the mood, atmosphere, and natural elements in your paintings. Practice techniques for depicting skies, water, trees, and various textures found in landscapes.
3. Portraits
Discover the art of portraiture. Study facial features, expressions, and the nuances of capturing a person’s likeness. Experiment with different angles, lighting conditions, and skin tones. Explore techniques for rendering eyes, lips, and hair. Practice capturing the unique personality and emotions of your subjects.
4. Animals and Wildlife
Embrace the challenge of painting animals and wildlife. Study different species and their anatomy. Experiment with capturing the texture and patterns of fur, feathers, or scales. Practice portraying their movements, expressions, and natural habitats. Explore techniques for creating realistic or stylized representations of animals.
5. Abstract and Expressive Art
Step into the realm of abstract and expressive art. Embrace the freedom of non-representational painting. Experiment with shapes, colors, lines, and textures to convey emotions, concepts, or a sense of energy. Explore different techniques such as pouring, dripping, splattering, or intuitive mark-making.
6. Figures and Anatomy
Challenge yourself with figure drawing and anatomy studies. Practice capturing the proportions, gestures, and movement of the human figure. Study the underlying structure and anatomy to enhance your understanding and ability to depict realistic figures. Experiment with different poses, clothed or unclothed, and explore various techniques for shading and highlighting.
7. Architectural Elements
Explore the world of architecture and urban scenes. Study different architectural styles, buildings, and cityscapes. Experiment with capturing the perspective, proportions, and intricate details of architectural elements. Practice techniques for depicting light and shadow on buildings, reflections on glass, or the mood of urban environments.
8. Narrative and Storytelling
Engage in narrative and storytelling through your art. Choose a theme or concept and create a series of artworks that convey a story or evoke a specific emotion. Experiment with symbolism, metaphors, or visual elements that contribute to the narrative. Develop a cohesive body of work that invites viewers to connect with your story.
Module 7: Art History and Contemporary Art
1. Introduction to Art History
- Dive into the rich history of art, exploring various art movements, periods, and styles. Study influential artists and their contributions to the art world.
- Learn about significant historical periods such as the Renaissance, Baroque, Impressionism, Cubism, Surrealism, Abstract Expressionism, and more.
- Understand the social, cultural, and artistic contexts that influenced these movements, as well as the key characteristics and techniques associated with each.
2. Study Iconic Artists and Their Works
- Explore the works of renowned artists throughout history. Study their artistic techniques, unique styles, and contributions to the art world.
- Analyze the significance and impact of iconic artworks such as Leonardo da Vinci’s “Mona Lisa,” Vincent van Gogh’s “Starry Night,” Pablo Picasso’s “Guernica,” and other influential masterpieces.
- Gain insight into the artistic choices, themes, and motivations behind these works, as well as their historical and cultural context.
3. Understanding Art Movements:
- Examine major art movements and their defining characteristics. Study movements such as Realism, Romanticism, Fauvism, Dadaism, Pop Art, Minimalism, and more.
- Analyze how artists within each movement challenged conventional norms, experimented with new techniques, and expressed their artistic visions.
- Explore the connections and influences between different art movements, as well as the evolution of artistic styles over time.
3. Contemporary Art
- Discover the world of contemporary art and explore the works of living artists. Study the diverse range of artistic styles, mediums, and themes present in contemporary art.
- Learn about current art trends, exhibitions, and art events happening globally. Stay updated on emerging artists and their contributions to the contemporary art scene.
- Analyze contemporary artworks in relation to social, political, and cultural contexts. Explore how contemporary artists tackle relevant issues, express personal narratives, and challenge artistic boundaries.
4. Art Criticism and Analysis
- Develop the skills to critically analyze artworks. Learn how to interpret and evaluate artworks based on their formal elements, symbolism, composition, and conceptual depth.
- Explore different art theories and methodologies of art criticism. Understand how art critics and scholars approach the interpretation and evaluation of artworks.
- Practice articulating your thoughts and opinions about artworks, both historical and contemporary, and engage in discussions about art with fellow artists and art enthusiasts.
5. Visiting Art Galleries and Museums:
- Immerse yourself in the art world by visiting galleries, museums, and exhibitions. Experience art firsthand and observe artworks in person.
- Take note of the curatorial choices, exhibition design, and presentation of artworks. Reflect on the impact of the physical space on the viewer’s perception and interpretation of art.
- Engage with the local art community, attend artist talks, workshops, and art-related events to expand your knowledge and network.
Module 8: Advanced Techniques
1. Exploring Complex Composition:
- Delve into the intricacies of composition and learn advanced techniques to create visually compelling artworks.
- Study the principles of balance, symmetry, rule of thirds, focal points, and leading lines to guide the viewer’s eye through your artwork.
- Experiment with unconventional compositions, asymmetry, and dynamic arrangements to add visual interest and evoke different emotions.
2. Mastery of Light and Shadow:
- Dive deeper into the understanding and depiction of light and shadow in your artwork.
- Study the effects of different light sources and their interaction with objects. Learn how to render highlights, mid-tones, and shadows realistically.
- Experiment with various techniques such as chiaroscuro (strong contrast between light and dark) or tenebrism (dramatic use of shadow) to create depth and dramatic effects.
3. Refining Textures and Details:
- Focus on honing your ability to render textures and intricate details in your artwork.
- Study different textures found in nature, objects, and fabrics. Learn techniques to depict smooth surfaces, rough textures, reflective materials, and intricate patterns.
- Experiment with techniques like dry brushing, stippling, or sgraffito to create realistic textures and add depth to your artwork.
4. Expressive Brushwork and Mark-making:
- Develop your brushwork skills and explore expressive mark-making techniques.
- Experiment with various brush sizes, shapes, and textures to create bold strokes, delicate lines, or textured surfaces.
- Use brushwork and mark-making to convey energy, emotion, and personal expression in your artwork.
5. Incorporating Mixed Media:
- Expand your artistic possibilities by incorporating mixed media elements into your artwork.
- Combine different materials such as collage, found objects, textiles, or digital elements with traditional mediums to add layers of texture and visual interest.
- Experiment with various adhesives, mediums, and techniques to seamlessly integrate different materials into your artwork.
6. Experimentation and Personal Style:
- Encourage experimentation and exploration of new techniques, materials, and approaches to art-making.
- Embrace the freedom to take risks, make mistakes, and learn from the process. This will contribute to the development of your unique artistic style.
- Challenge yourself to step out of your comfort zone, try new subject matter, and push the boundaries of your skills to expand your artistic horizons.
From selecting modules that resonate with you to adapting the pace of your learning, personalising support, and tracking your progress, a study plan empowers you to unlock your full artistic potential.
Embrace the joy of customisation, nurture your creativity, and embark on a fulfilling artistic journey that is entirely your own.
Are you ready to create your customised self-taught artist plan?
Share your thoughts, plans, and any additional tips you have for self-taught artists in the comments below. Let’s celebrate the freedom and boundless possibilities of self-guided artistic education!


 3. Your Art Journal: A Safe Space to Practice Intuition
 4. Why You Don’t Need to “Make the Right Decision”
 5. Strengthening the Intuition Muscle
 You speak up instead of hesitating.
 6. From Page to Life: Everyday Changes You Might Notice
 7. How to Practice First-Thought Trusting in Your Journal
 8. Final Reflection: This Is the Real Work